CalDAV
Use this option for any calendar server that supports the CalDAV standard, such as Nextcloud, Fastmail, or a self-hosted calendar server.
-
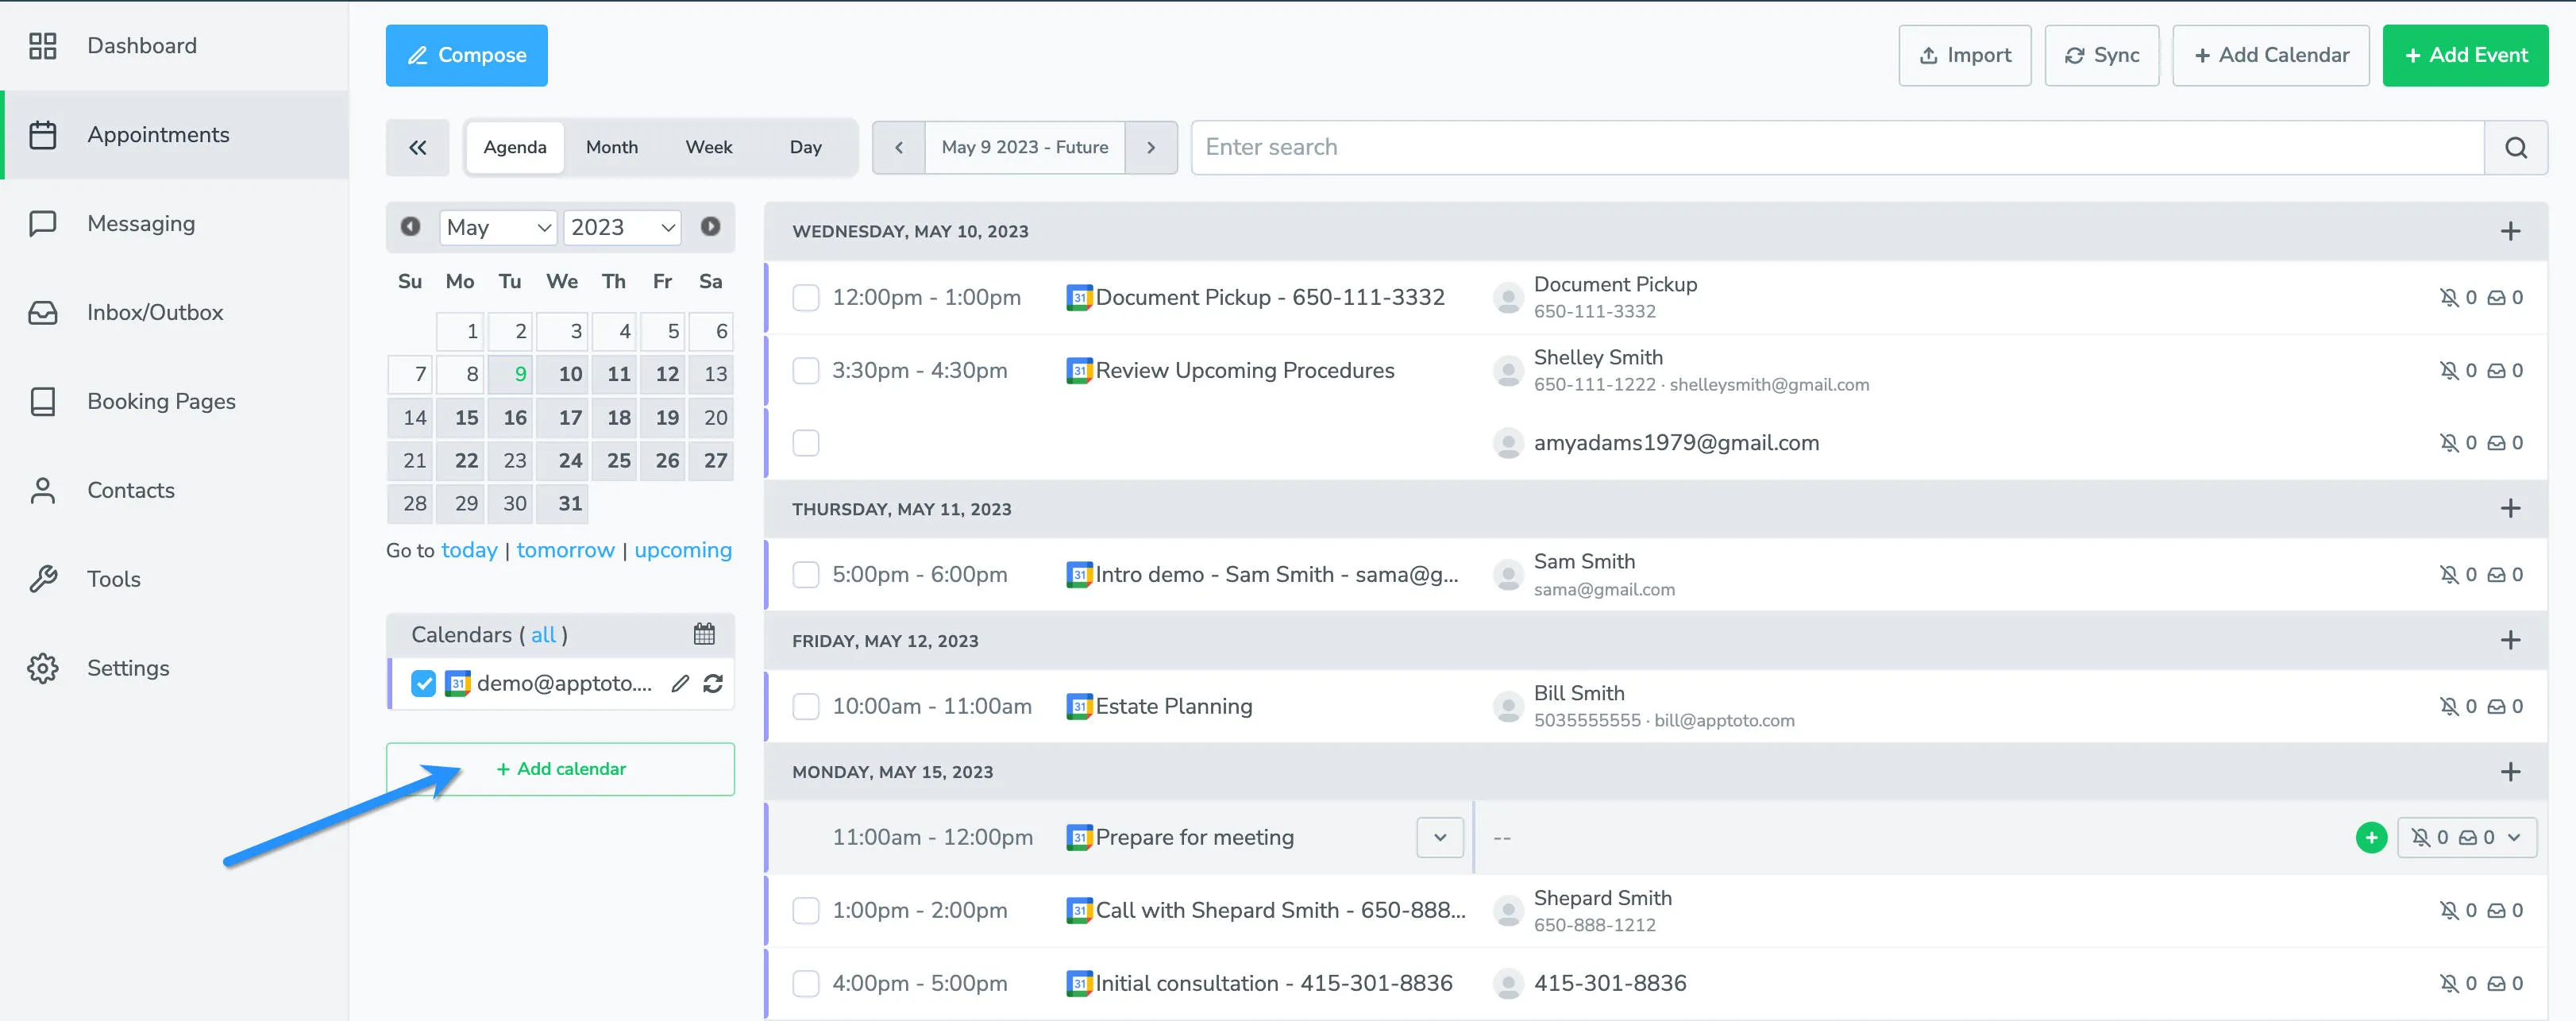
Navigate to your Appointments tab and click + Add Calendar. Access the Appointments section in Apptoto and locate the + Add Calendar button in the left-hand navigation menu.
-
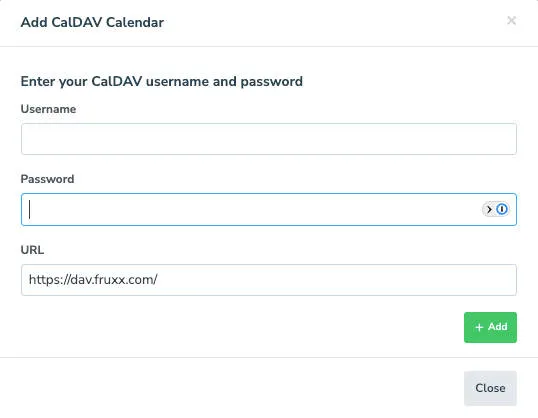
Select the CalDAV option. Choose CalDAV from the available calendar connection types. This will open a form where you’ll enter the URL and login credentials for your CalDAV server.
-
Select calendar. From the dropdown menu, choose the specific calendar you want synced to your Apptoto account, then click Add to establish the connection.
-
Verify in the Appointments tab. Log in to apptoto.com, select My Account from the top right corner, and navigate to the Appointments tab. Verify that your calendars now appear in the system.
After Connecting
Section titled “After Connecting”Once your calendar is connected, Apptoto syncs it automatically once per hour. Your next step is to configure your reminder messages. See Message Setup for a full walkthrough.