Estimated reading time: 5 minutes
Think about your last visit to the dentist’s office. You likely booked your appointment at the end of your appointment and stood there adding it to your calendar with the name “Dr. Visit.” Maybe you even set the start time to 15 minutes early to account for driving time.
Fast-forward six months, and now you can’t remember whether “Dr.” refers to your primary care physician, dentist, optometrist, or another specialist. You’re digging through emails, trying to piece it all together and figure out exactly where you’re supposed to be at what time. Sound familiar?
If you struggle with this, chances are your clients do, too. That’s why making it as simple and foolproof as possible for them to add appointments (with you) to their calendars is crucial. Luckily, it’s easy to do!
Join us for the first of our “Automation Recipe” series, where we’ll break down step-by-step processes to make scheduling, reminders, and communication easier for you and your clients.
What this Automation Does
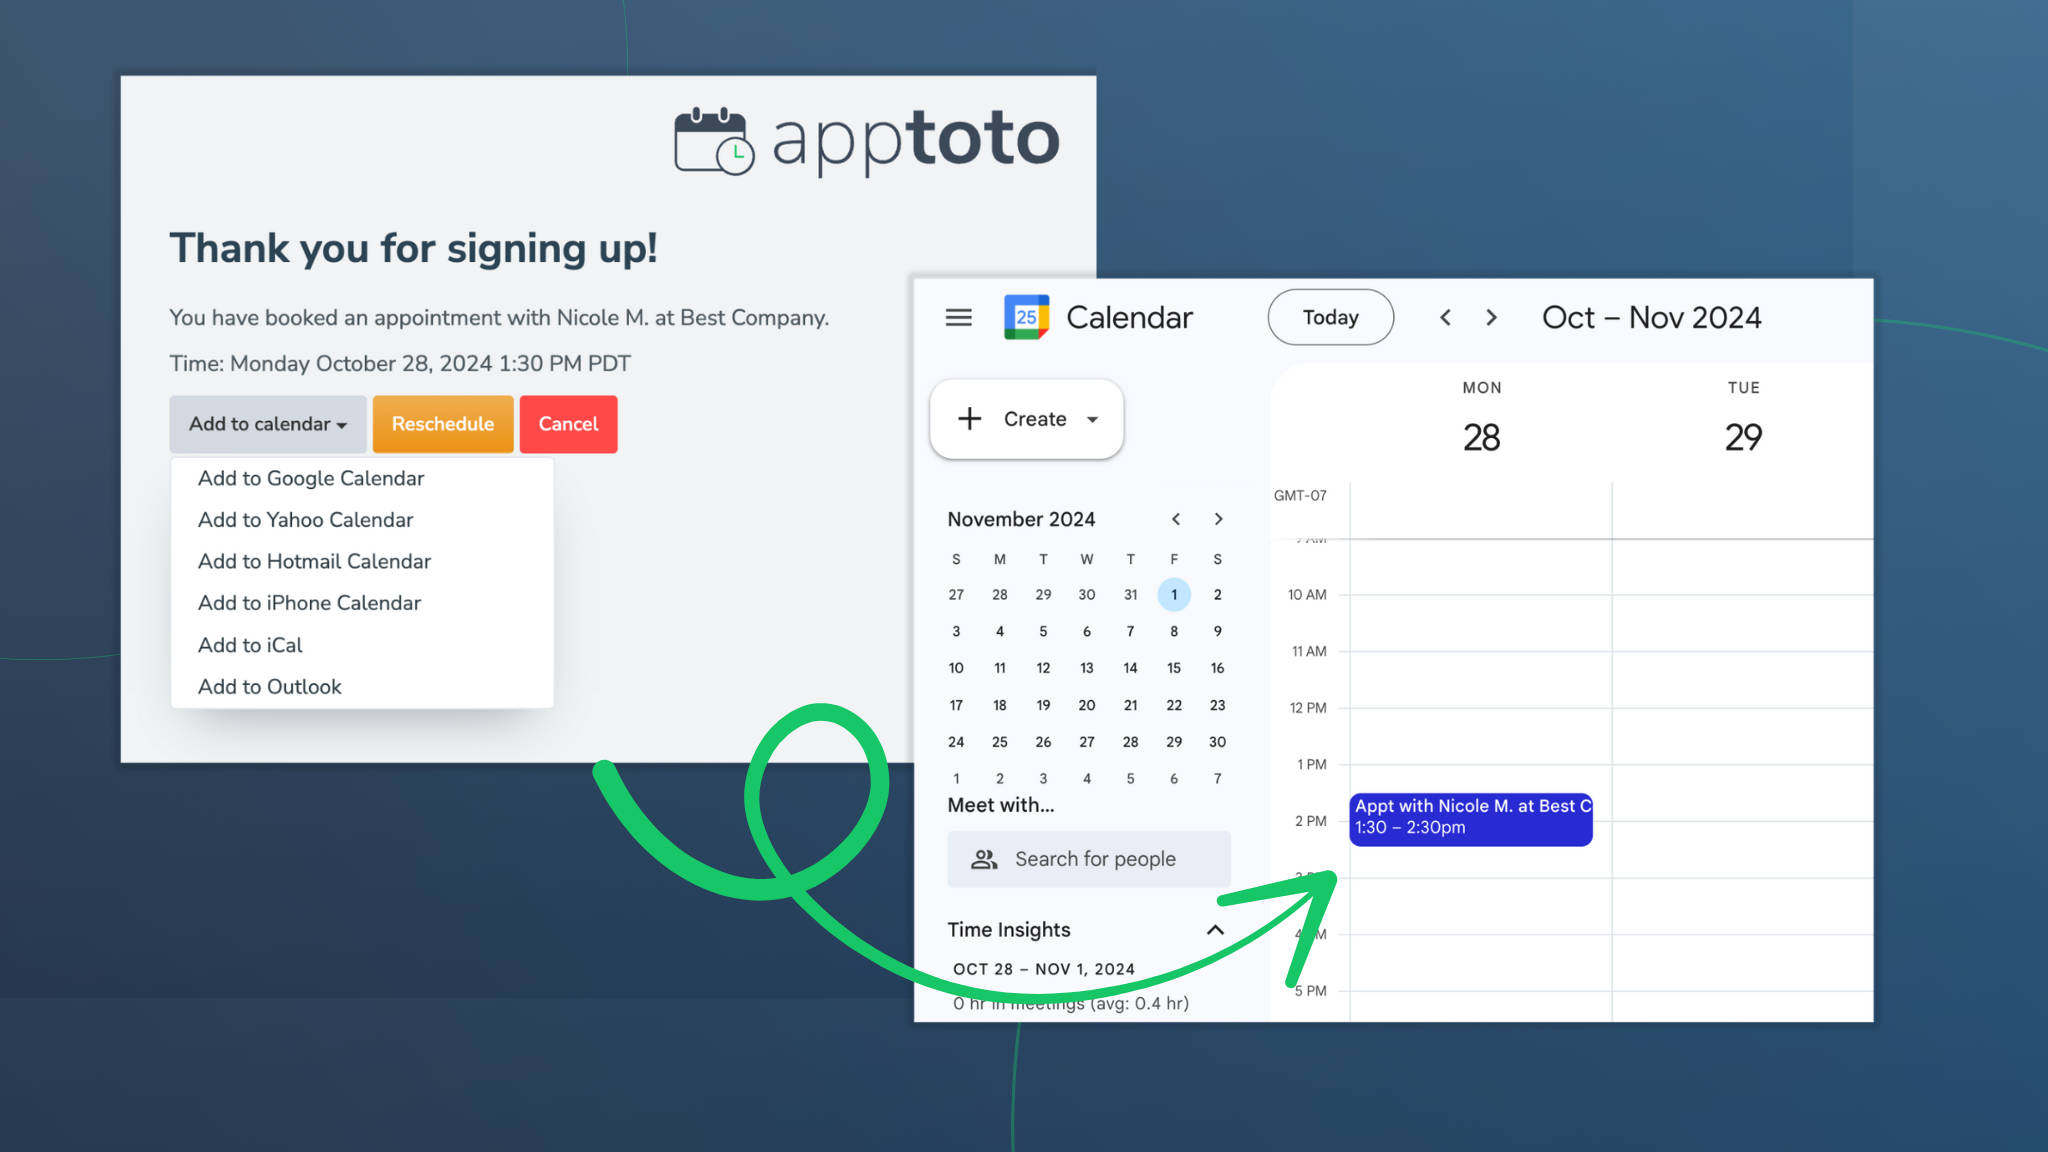
- Allows clients to add appointments to their calendar with a few clicks
- Lets you control what details are included in their appointment event
- Works for Google, Yahoo, Microsoft Outlook, iPhone, and iCal Calendars
Industries
All!
What You’ll Need
- Apptoto’s Desktop portal
Instructions
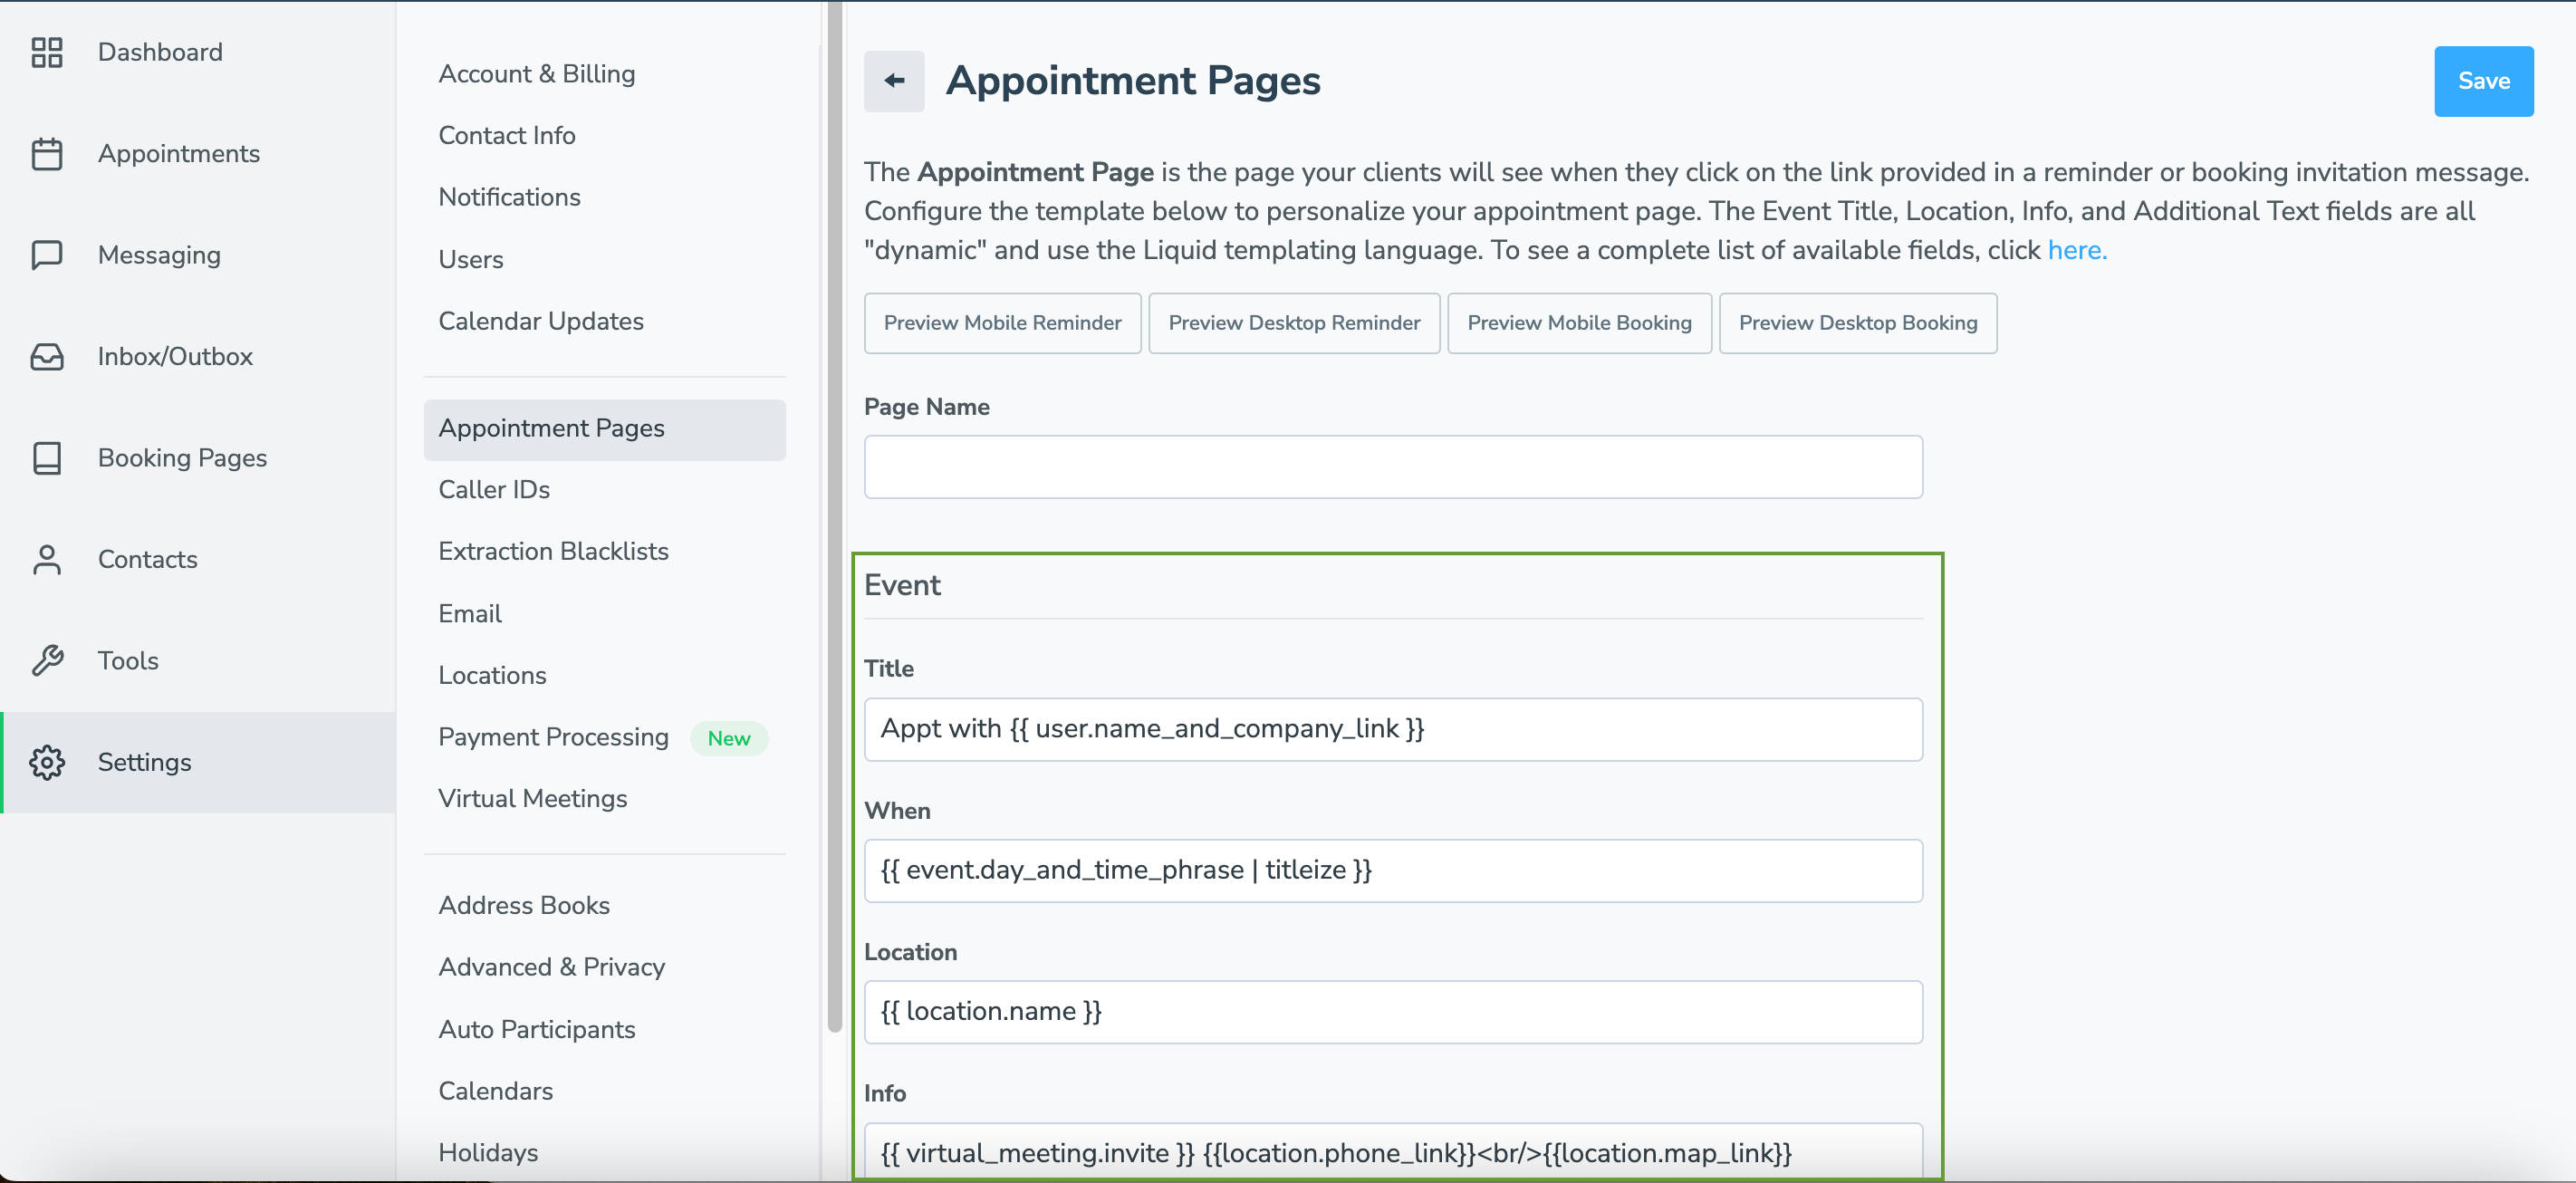
- Navigate to the “Settings” tab, then “Appointment Pages.”
- On the “Appointment Pages” settings page, find the “Event” section.
- Update the “title,” “when,” “location,” and “info” to control what information is included in the Calendar Event added to your client’s calendar.
- Scroll down to the “Options” section.
- Select the “Show ‘Add to Calendar’” checkbox and click “Save.”

- If you have multiple Appointment Pages, repeat the process for each.
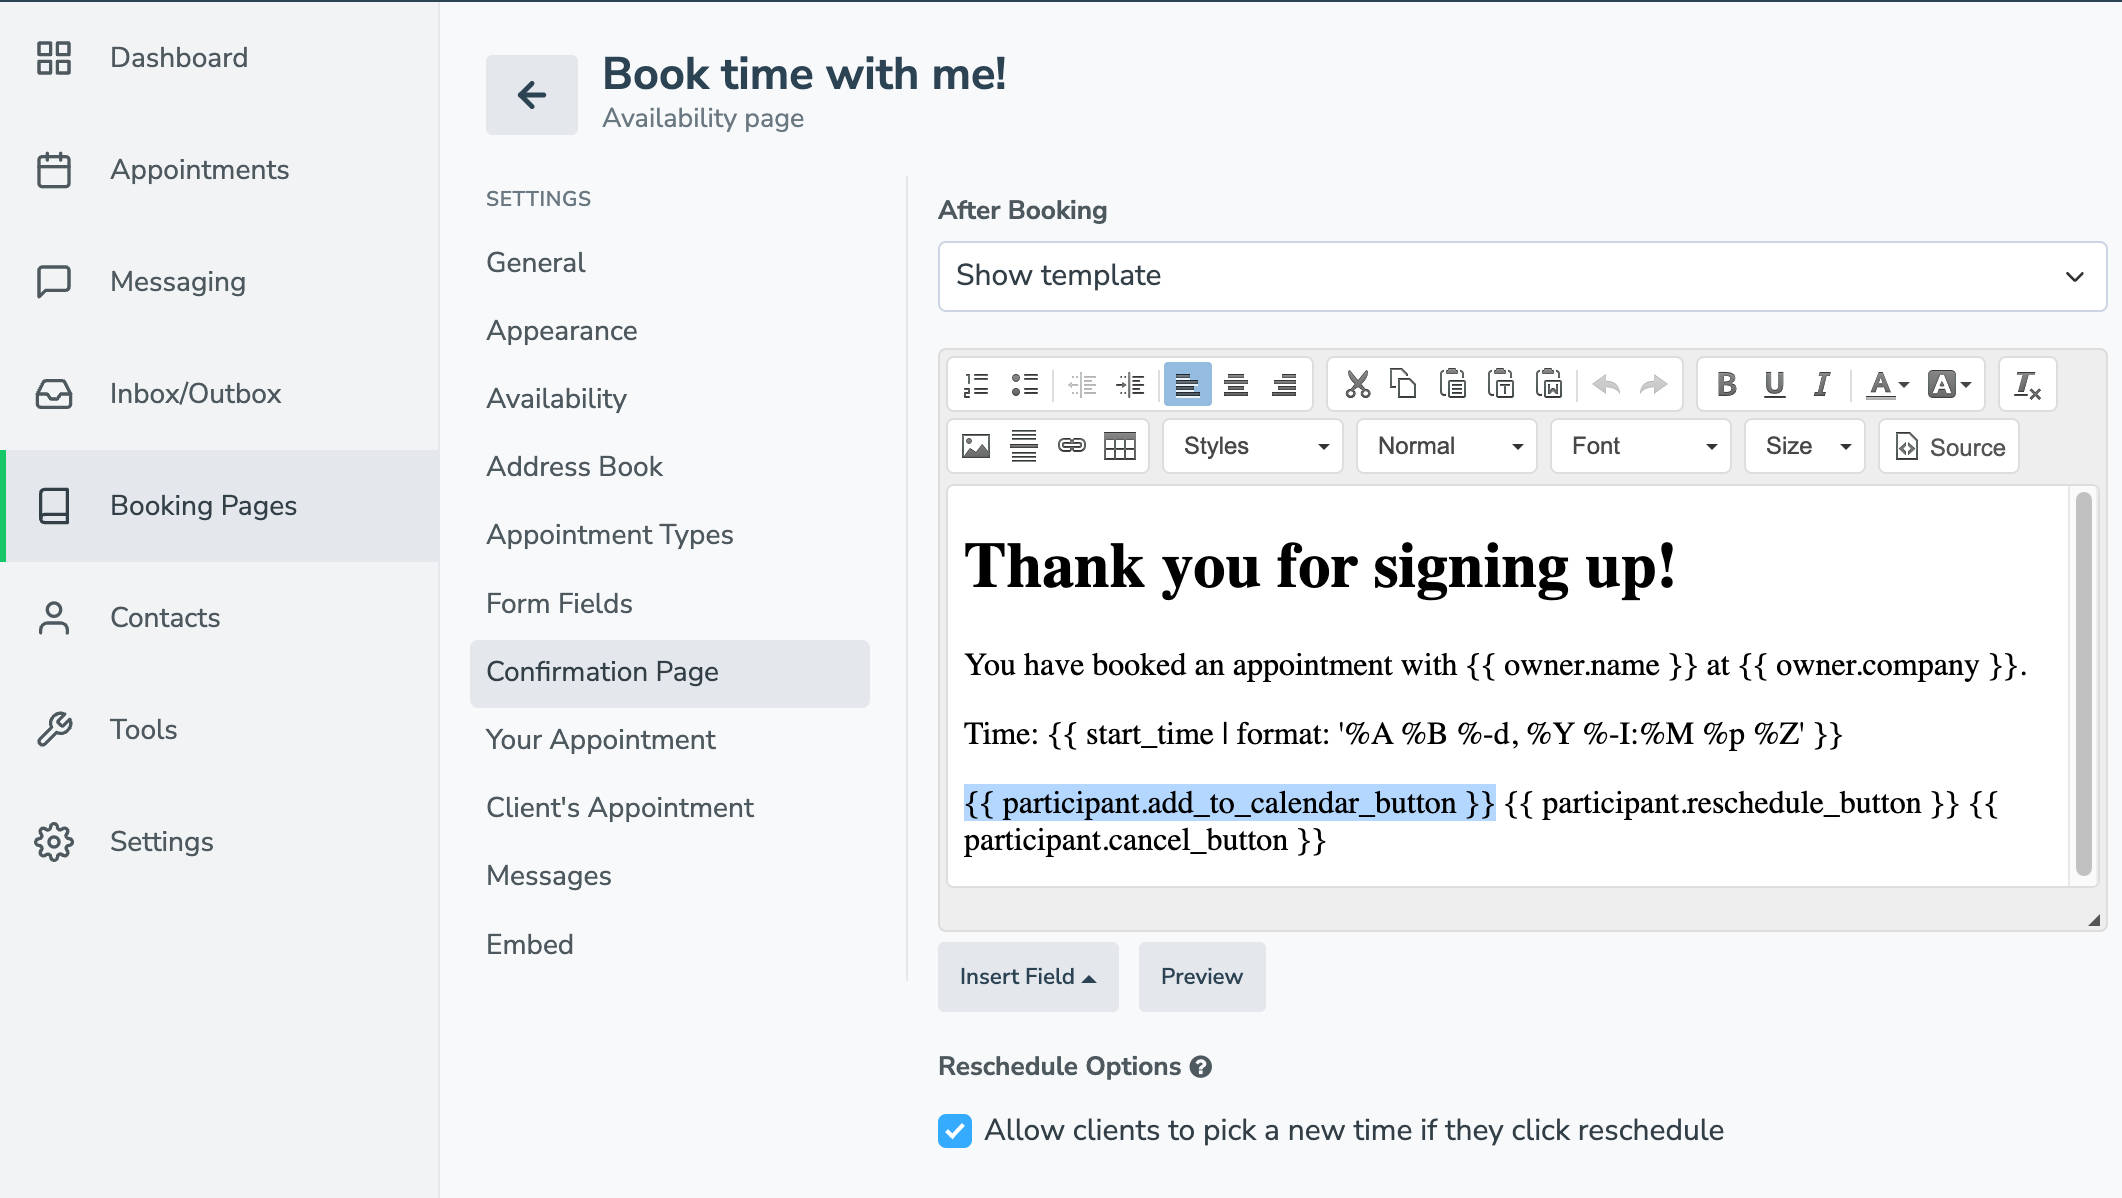
- Navigate to “Booking Pages” and select a book page.
- Click “Confirmation Page.”
- If using:
- “Show template” after booking, then ensure the field “{{ participant.add_to_calendar_button }}” is included somewhere in the email body.
- “Show appointment page” after booking, then no changes are needed!
- Next, navigate to the “Client’s Appointment” tab.
- Update the event “Title,” “Location,” and “Body” to control what information is included in the Calendar Event that is added to your client’s calendar (after they schedule through an online booking page).

- Click Save. Repeat for any remaining booking pages as needed.
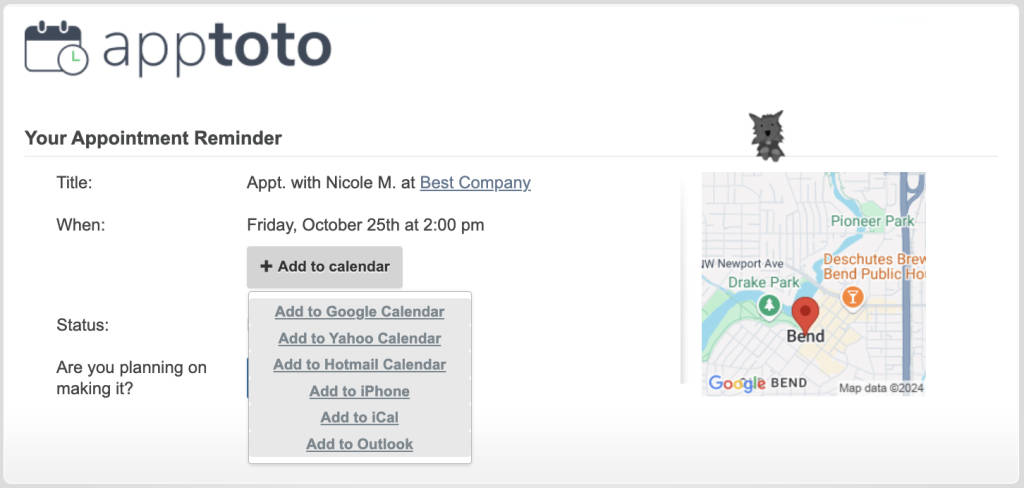
Details: Steps 1 through 5 ensure that when you send reminders that include a “Reminder Link,” the link will direct clients to an “Appointment Page.” It displays the client’s appointment name, date, time, location, and other details and includes the “Add to Calendar” button as well. This works for any appointment regardless of how it’s added to your calendar (manually in Apptoto, via your Calendar app, from an online booking page, etc.)
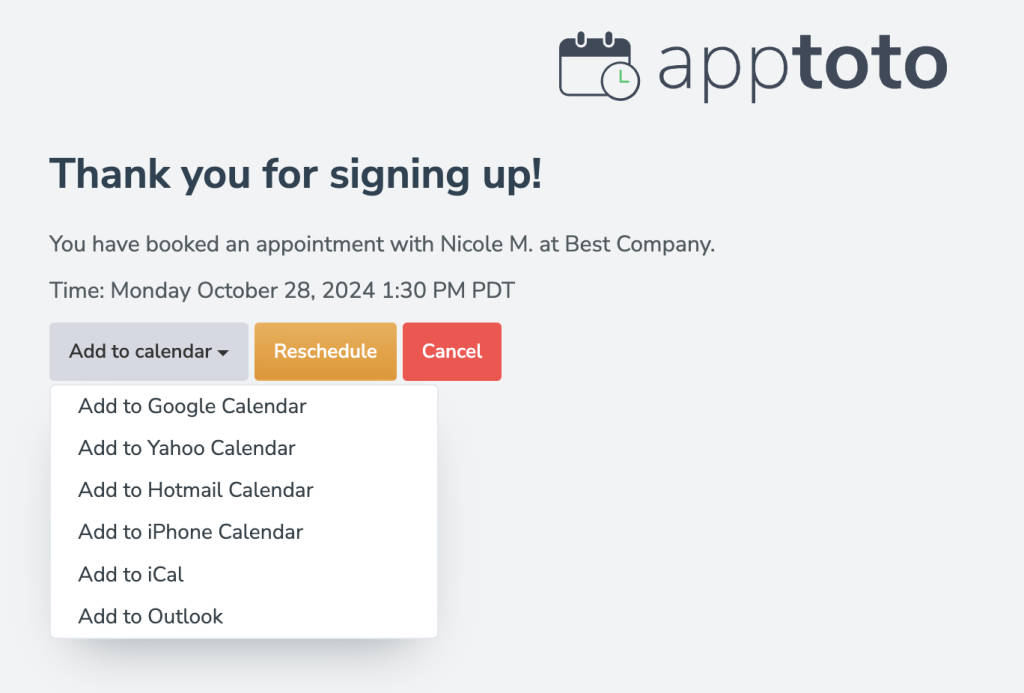
Steps 6 through 10 ensure that when a client books through one of your online booking pages, their appointment confirmation will include an “Add to Calendar” option. Clients can add the appointment to their calendars at the time of booking.
“Add to Calendar” Best Practices
- Ensure the Calendar event name, time, date, location, and other details are accurate (using steps 3 and 10)
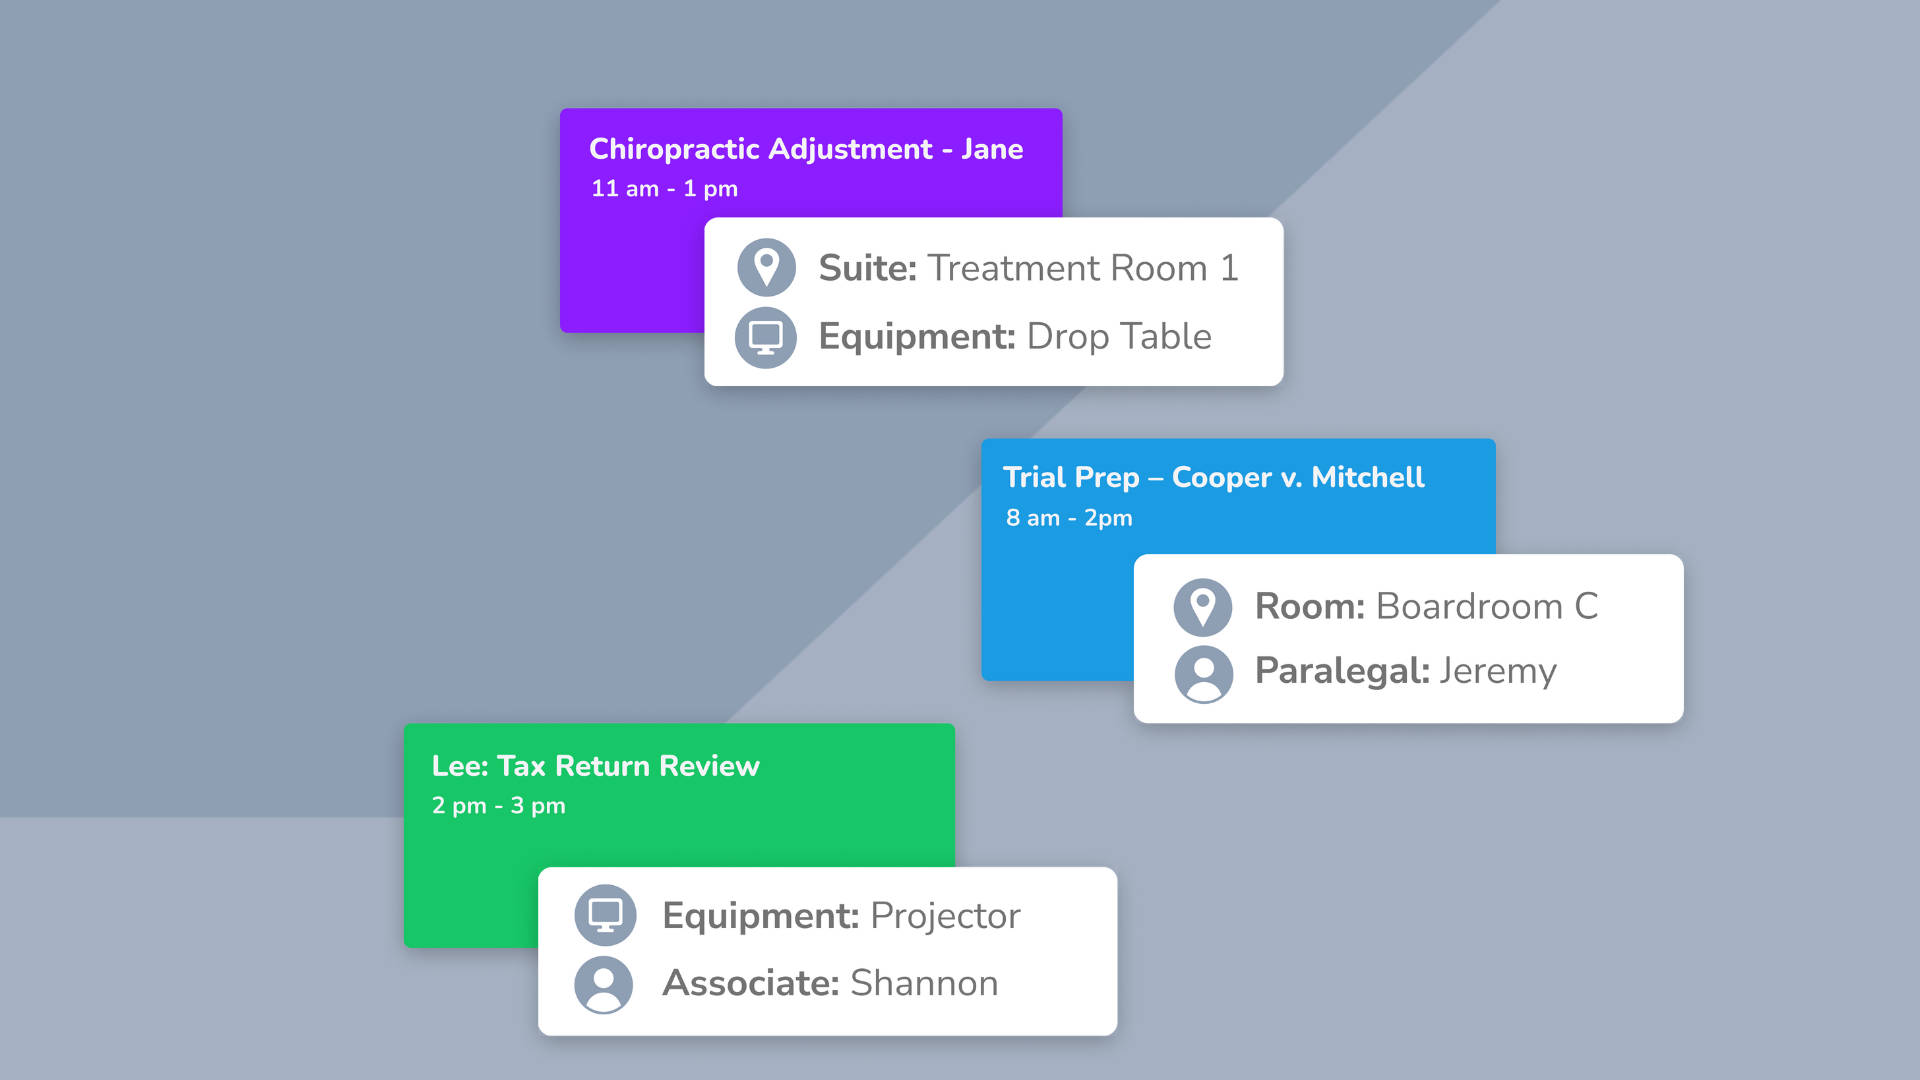
- Use “Fields” to have Apptoto dynamically insert relevant information for each unique event.
- Test the experience out before launching
- Promote the “Add to Calendar” button to your clients!
Make Appointment Scheduling Effortless for Your Clients
Making it quick and simple for your clients to add their upcoming appointments to their calendars might seem minor, but it can significantly reduce no-shows and improve client satisfaction. This automation recipe makes it happen with a few clicks!
Want to simplify the appointment process for you and your clients but not using Apptoto yet? Sign up for a free 14 trial to see this automation in action. Already using Apptoto? Try this recipe today, and then let us know what you’d like us to cover next!
