If you’re installing Apptoto into a Citrix environment, please read this page first: Microsoft Outlook.
Before installing this sync agent:
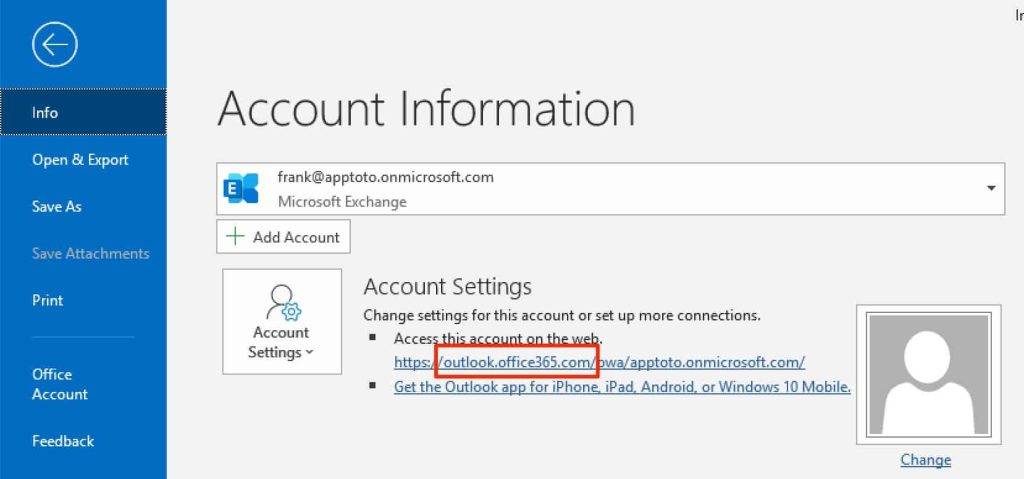
Most Outlook users will find that their accounts are actually set up through Office 365. In these cases, we strongly recommend using our Office 365/Outlook.com connection, as it will put less demand on your local computer, while still syncing the same data. To know if you’re on an Office 365 account, simply open the File tab in Outlook, and you’ll see that info here:

If you find that you’re not on an Office 365 account, simply follow the directions below:
Step 1: Download Apptoto/Outlook connector
Download by clicking here: Setup.exe
Works with Outlook 2007, 2010, and 2013
Use your password (or the api key on the Account tab as your password)
Save the setup.exe file to your hard drive.
Step 2: Install Apptoto/Outlook Connector
Double click the setup.exe file that you downloaded in the previous step.

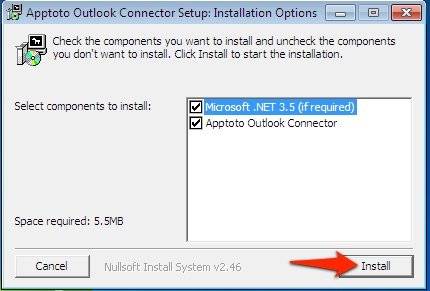
Click “Install” in the dialog that appears and complete the installation wizard.
Step 3: Click Login in the Apptoto menu
Open Outlook after installation completes. You should see a “Apptoto” menu.

Click the “Login” button.
Sign in using your Apptoto username and password (or API KEY from the “Account” tab on apptoto.com if you signed in using Google)
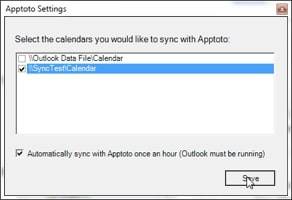
Step 4: Choose the calendar you want to sync in the settings dialog

Step 5: Click the Sync button

Step 6: Check the “Appointments” tab
Go to Apptoto.com, click “My Account” in the top right, then click on the “Appointments” tab. Confirm that your calendars appear in Apptoto.
Now that your calendars are connected, next steps to setting up your account is to set up your default messages. For a walkthrough of that, see message setup.